
Home / Installation guide
How to Install Interlocking Court Panels — Step by Step
No glue, no nails, no specialist crew. Here is the full process we send with every order, including the details that decide whether a court still looks right after two years.
- Installs in hours, not days
- No adhesive or curing time
- Removable and relocatable
- Free layout drawing with every order
Step 1 — Prepare the base
The base decides the result. It needs to be hard, flat, stable and clean: concrete, asphalt, compacted gravel or a properly prepared sub-base with a geotextile layer. Sweep it, remove sharp stones and check for high spots — anything that rocks underfoot will telegraph through the panels as a soft spot.
Allow drainage to work. If the site has no natural fall, keep the perimeter clear so the perforated panels can discharge. Do not lay over standing water.
Step 2 — Set out the court
Start from one corner of the playing area and work outward, following the layout drawing that ships with your order. Establish your first two perpendicular rows and check them against the court dimensions and line positions before you lock anything — correcting later is far more work than correcting now.
Work in a herringbone or staggered pattern if your design calls for it, and keep the locking loops facing the direction of travel so the mallet pushes panels into place rather than lifting them.
Step 3 — Lock the panels
Align the loop-and-pin edges and tap with a rubber mallet until the seam closes flush. Work in bands, checking rows stay straight every few metres. Tap along the whole seam, not just the corners — a seam that looks closed at the ends can still sit proud in the middle.
Leave a small expansion allowance at the perimeter, especially where the court is in full sun and the temperature swings between seasons.
Step 4 — Finish edges and markings
Fit ramp strips or edge pieces on every open side, which both finishes the perimeter and gives a safe transition for feet, wheels and mowers. Markings are either moulded colour panels installed as part of the layout, or applied after the court is locked, depending on the specification. Sweep the finished surface and the court is ready to play immediately — there is no curing time.
Specifications
| Time | A single court in a few hours with two people |
| Tools | Rubber mallet, tape measure, string line, knee pads |
| Base | Concrete, asphalt or compacted gravel — flat and clean |
| Accessories | Ramp strips, edge pieces, corner pieces |
| Maintenance | Sweep or hose; replace individual panels if damaged |
| Expansion | Leave an allowance at perimeters exposed to full sun |
| Skill level | DIY-capable; no specialist labour required |
| Documentation | Free layout drawing supplied with every order |
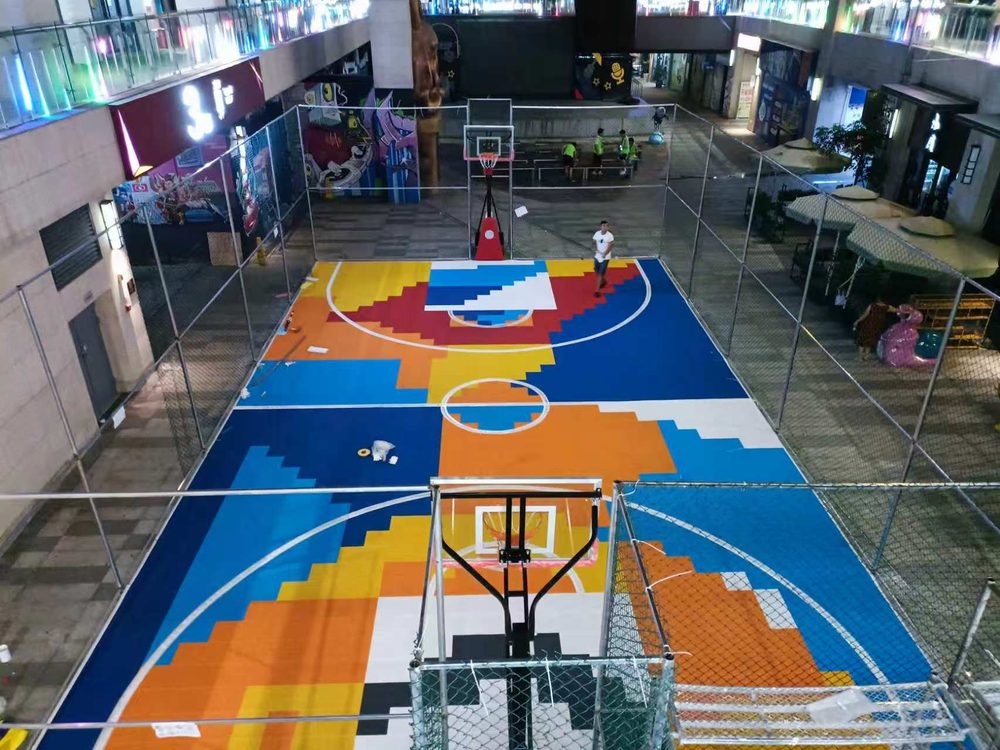
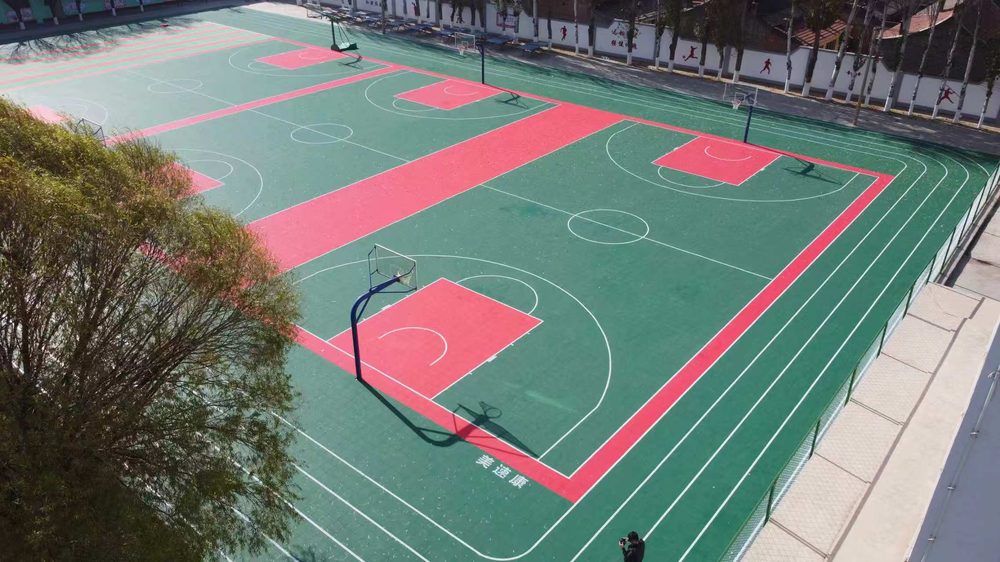
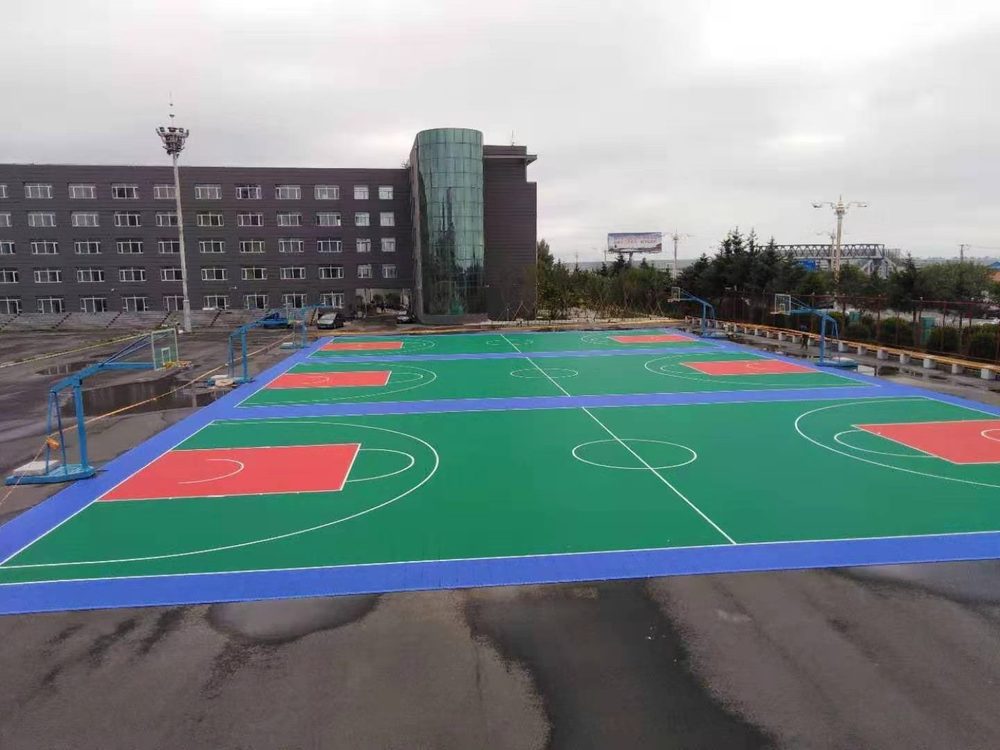
Project photos
Frequently asked questions
Do we need glue or fixings?
No. The panels lock together by hand and hold by their own weight and geometry. Adhesive is not used, which is why the surface can be lifted and re-laid elsewhere.
Can it be installed on grass or soil?
Not directly — the base must be solid. For grass areas you would typically prepare a compacted sub-base with geotextile beneath the panels so the surface stays level.
What happens if a panel is damaged?
Single panels are replaced on site. You lift the surrounding seam, swap the panel and re-lock it — no need to disturb the rest of the court.
Related pages
Get a quotation within 24 hours
Send your court size, sport, colour requirement and destination port — we reply with pricing, a free layout drawing and the exact panel quantity.